How to host a website on github pages

Create a GitHub Pages Website
GitHub
In this example we are going to build a very simple website and host it on GitHub Pages.
This demonstration requires a Git Client and a Code Editor app. These are the apps that I use:
- GitHub Desktop: Download GitHub Desktop
- Visual Studio Code: Download Visual Studio Code
You will require a GitHub account. If you don’t already have one, go to https://github.com and sign up.
Once signed up, we can create a repository as follows:
- Login with your new account
- Click Create repository
- Enter
username.github.ioas the repository name (replace username with your GitHub username).
Example: if your username iswebdev66, the repository name should bewebdev66.github.io
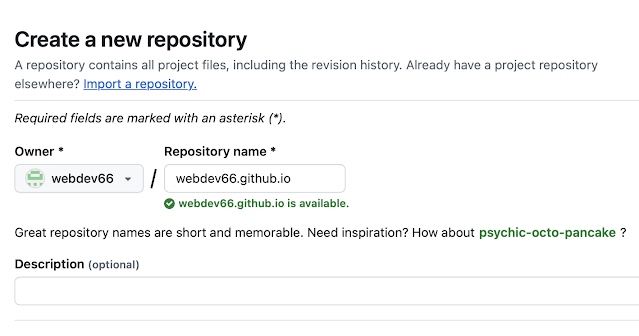
- Choose repository visibility as Public (free hosting requires this).
- Select Initialize this repository with a README.
- Click Create repository.
Once we have created the repository, we need to make a local copy. This is called cloning the repository:
git clone https://github.com/username/username.github.io
Create your first page
We are now ready to start building our site and upload it to GitHub.
In this example, we will create a basic HTML file for demonstration.
- Open Visual Studio Code and open the project folder
username.github.io(replace username with your GitHub name). - Create a new file called
index.html. - Add the following content to the new file…
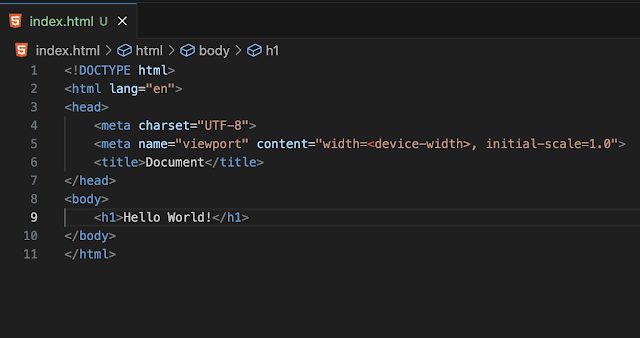
Save the file and close Visual Studio Code.
Open a terminal (command prompt) and change the active folder to the project folder - username.github.io (replace username with your GitHub name).
Add, Commit and Push the changes to GitHub as follows (log on to GitHub if prompted):
git add --all
git commit -m "Initial commit"
git push -u origin main
Your website should now be live with the name - username.github.io (replace username with your GitHub name).
Open a browser and go to username.github.io.
Voila! We have a website on the internet!
Option - Add a custom domain for your GitHub Pages site
GitHub Pages allows you to use custom domains or change the root of your site's URL from the default (e.g., username.github.io) to any domain you own.
The following domain types are supported:
| Supported types | Example |
|---|---|
| www subdomain | www.example.com |
| Custom subdomain | blog.example.com |
| Apex domain | example.com |
For details on configuring GitHub Pages and DNS for custom domains, see:
GitHub Pages Custom Domains